
Make one image with a starter Pipe, then open it in Gallery.
You will need #
- Studio is open.
- ComfyUI is connected.
- You have a project and an output folder.
Fresh profiles include starter Pipes. A bundled Pipe supplies the workflow and creator-facing setup, but its model or custom nodes may still need installation on this ComfyUI engine. If you want to begin with your own workflow instead, use Import and migrate Pipes.
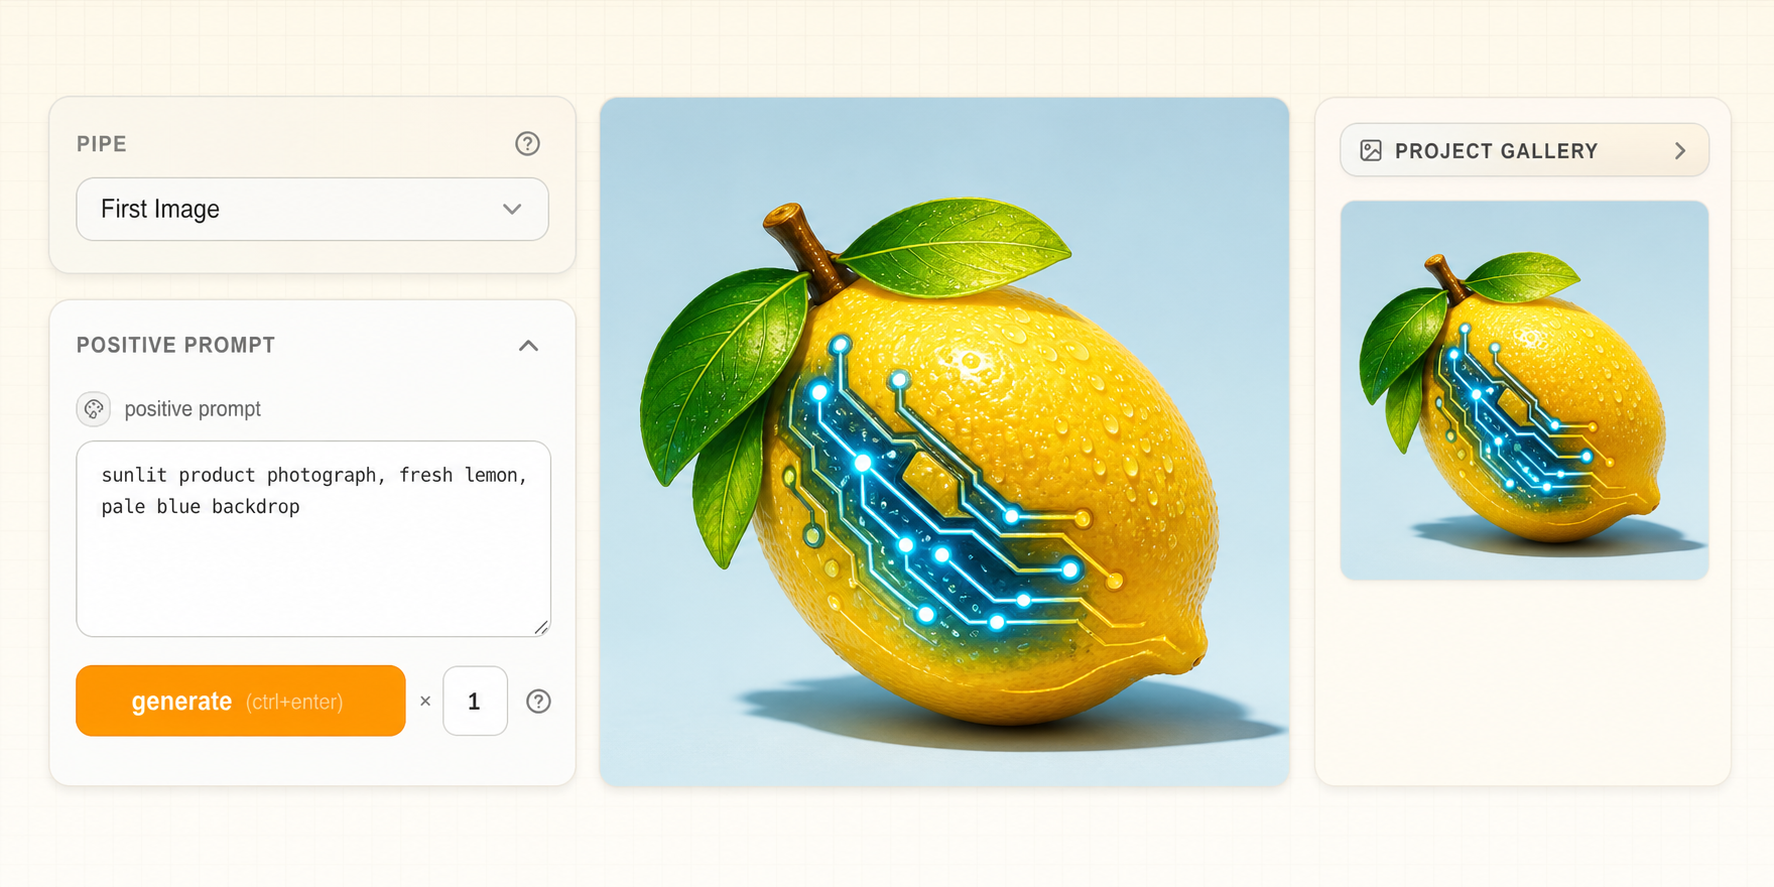
The first useful path is short: choose the Pipe, write a clear prompt, make one image, and find it in Gallery.
Open a starter Pipe #
- Open Pipes and choose an image starter.
- Install anything marked missing.
- Revalidate the Pipe.
- Open Generation when the Pipe can run.
Make the image #
- Open Generation.
- In Workspace context, choose the project and output folder.
- Select the ready starter image Pipe, or the Pipe you imported.
- Enter a short prompt with a clear subject.
- Leave the batch size at one.
- Review any required model, seed, size, or sampler controls.
- Select Generate.
- Watch the Generation Feed until the image finishes or reports an error.
- Open the image in the project Gallery.
Start with the Pipe’s working defaults. Changing ten variables before the first run makes a failure harder to locate and gives you no baseline for comparison.
What gets saved #
Studio saves the image in the selected project folder. When the workflow provides them, Studio also saves the prompt, Pipe, settings, and source-image details you can review or reuse later.
Open the image #
Open the image and confirm:
- it belongs to the intended project and folder;
- the viewer shows its prompt and saved settings;
- Use in Pipe can prepare compatible values and media;
- Regenerate can start another version with the same Pipe and saved settings.
If Generate is unavailable #
Read the item Studio says is missing:
- missing model → Model downloads and queue;
- missing custom node → Nodes;
- invalid or incomplete Pipe → Edit Pipe controls;
- project or folder missing → Choose a Project and Folder.